
Format for Kindle eBooks- Using DOCX.
If you wrote a book and you’re thinking, “How soon can I upload this?”, this is for you.
BY: THE MUSE LIBRARY
Images/Photos Sourced From: Pinterest + The Muse Library
This isn’t a gatekeeper’s checklist. This is the actual formatting you need to get your manuscript Kindle eBook-ready — using Word.
Kindle Direct Publishing accepts DOC, DOCX, KPF, and EPUB for eBooks — we’re using Word.
1. Start With a Clean Document
What this means:
Your manuscript should be a single Word file. No random headers, no manual spaces for alignment, no tracked changes left hiding and quietly judging you.
Do this:
Accept all edits and remove comments.
Turn off Track Changes.
Remove manual tabs/returns used for spacing.
Use Word’s Styles instead of random formatting.
Kindle doesn’t like arbitrary formatting. Clean the field before you upload.
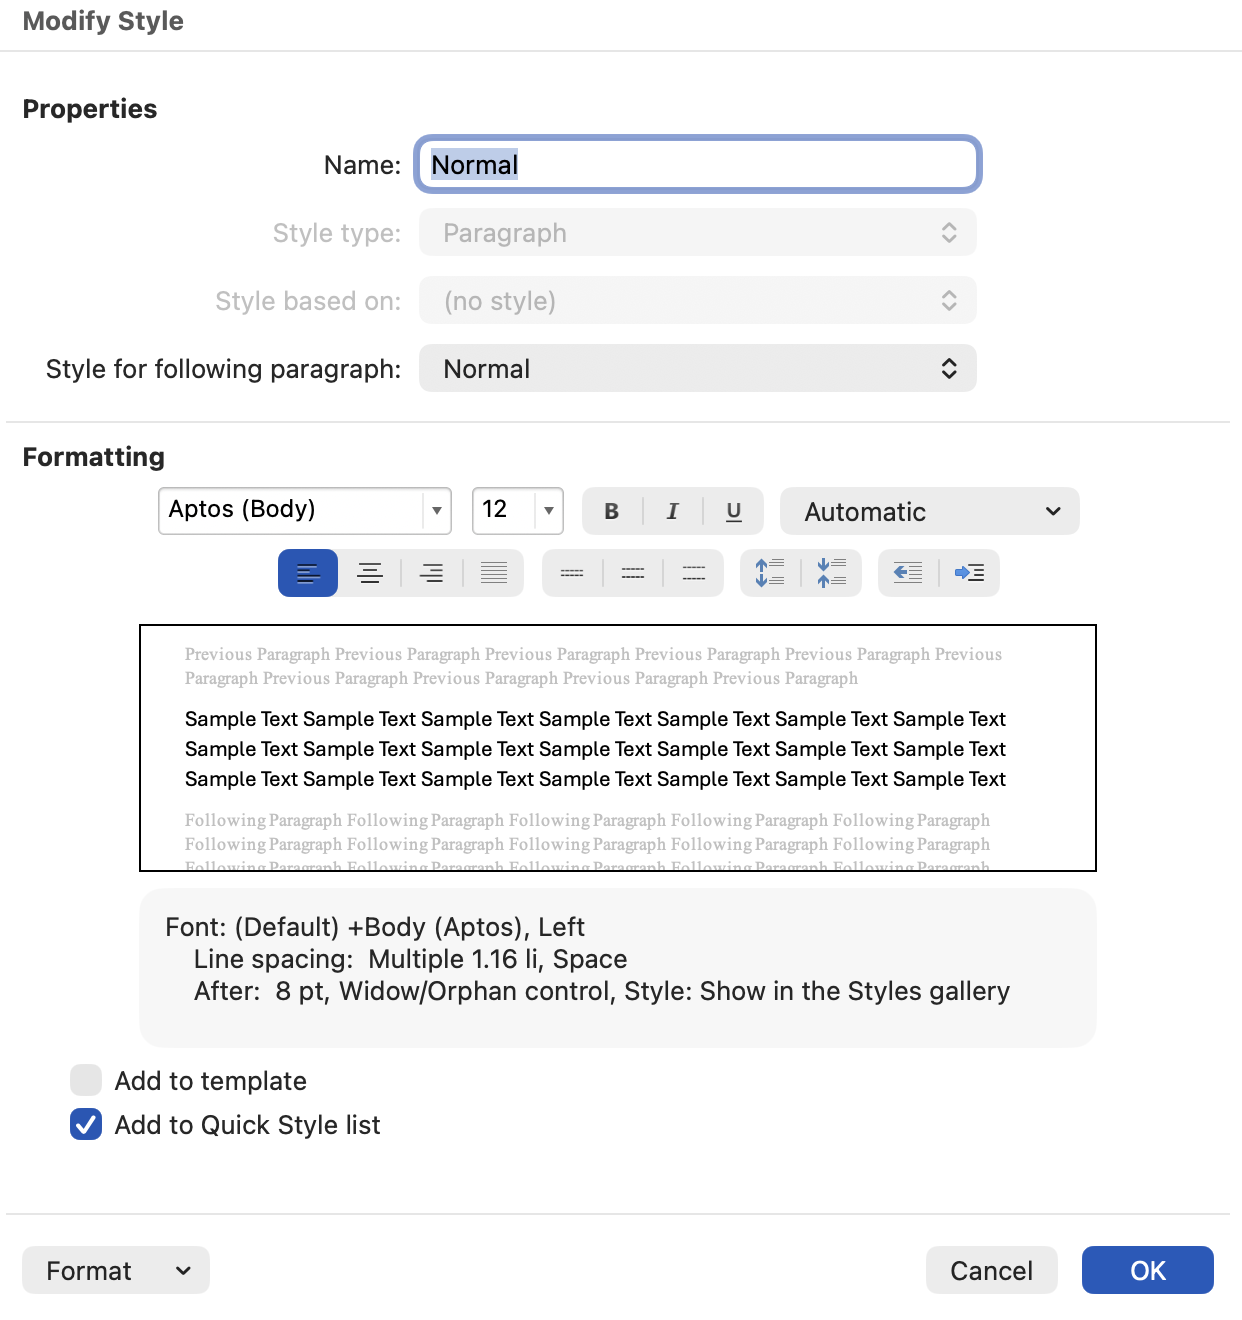
*How to use Styles*
Instead of manually bolding chapter titles or italicizing every fourth paragraph, use Styles:
Go to the Home tab.
Right-click Normal → Modify → set font and spacing.
Use Heading 1 for each chapter title.
Why? Kindle uses these tags to generate a linked Table of Contents and reliable layout.

2. Paragraphs: Indent, Don’t Insert Tabs
Tab spacing doesn’t convert reliably when Kindle reads your file. Instead:
Highlight your main text.
Right-click → Paragraph.
Under Indentation → Special: choose First line (≈0.2″).
Set Spacing Before/After to 0 pt and Line spacing to Single.
This creates a consistent, professional flow that resizes gracefully on readers’ devices.
3. Page Breaks (Yes, You Need Them)
A chapter that runs into the next without a break feels like noise. Use manual page breaks to signal beginnings:
Place your cursor at the end of a chapter.
Press Ctrl + Enter (Windows) or Cmd + Enter (Mac).
Kindle will interpret this as a new section.
No one wants a Kindle edition where lines wander into oblivion.

4. Visuals (If your book has images: maps, charts, art):
Insert them at a reasonable resolution.
Center them — not formatted left/right with text wrap.
Avoid placing images before or after a page break without text separation.
Kindle will resize images for devices, but poor placement looks amateur.
Tip: Your cover is invited later. Leave it out of your .DOCX
5. Table of Contents (Actually Useful on Kindle)
Kindle requires an internal Table of Contents so readers can jump around:
After your title page, insert a new page.
In Word, go to References → Table of Contents → Automatic Table.
Kindle will convert it into a clickable menu.
6. Preview Before You Publish
This matters.
Do not assume what looks fine in Word is fine on a Kindle app.
After uploading your .DOCX in your KDP dashboard, use Amazon’s Previewer. It shows how your text will look on phones, tablets, and e-readers.
If chapters are mashed, images float weirdly, or indents vanish, fix it in Word and re-upload.
Bottom line:
Formatting for Kindle doesn’t have to be mystical. It just has to follow readable logic. Word’s styles keep your structure clear. Indents and page breaks give it rhythm. And the previewer lets you see the result before you release a manuscript that looks surprised to be there.
You wrote the book. Don’t sabotage it.
-
The content provided on this website is for informational and educational purposes only and is not intended as a substitute for professional advice. This includes, but is not limited to, medical, legal, financial, tax, or other regulated professional advice. The Muse Library does not act as a publisher, literary agent, legal advisor, or financial advisor.
By using this website, you acknowledge and agree that The Muse Library shall not be held liable for any claim, loss, or damage arising from the use of, or reliance upon, any content presented here.
Certain images appearing on this site may be sourced from publicly available platforms for editorial and illustrative purposes only. All intellectual property rights remain with their respective owners. If you are a rights holder and wish to request attribution or removal, please contact us.